WL


MODULE 3: Pattern vs Surface
Investigating the interrelationship between pattern and surface, this module involves generating three-dimensional panel iterations on the computer program Rhino, transferring the unrolled nets to Adobe Illustrator, physical fabrication of the model, and finally, photography.
Digital Fabrication
At the beginning of the module, I found the Rhino quite challenging to use. The command-based software was very different from the Adobe suite. As I experimented more in generating surfaces in the three-dimensional space and using panelling tools, I realised that the software is extremely versatile. Manipulating point attractors, curve attractors in shuffling the grid and offsetting the points offered unlimited possibilities in manipulating my terrain.

Colour coded final design used to organise unrolled panels
In this module, rather than beginning with a particular concept, I attempted to focus first on the overall form of the terrain. This stage required me to thoroughly evaluate my landscape and decide on a few salient points which I want to concentrate on. By varying my grid multiple times using different point and curve attractors, I was able to generate a complex web imbued with directionality - some are more obvious and others more subtle. Then, I offset the grid with curve attractors so that the highest point on the terrain is further accentuated to create contrast.
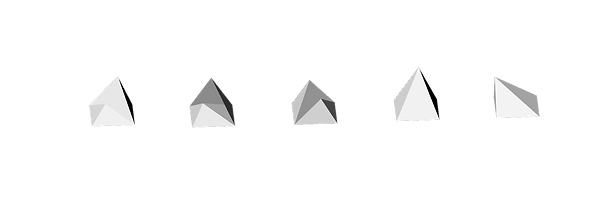
When I was creating my custom panelling components, I wanted to create both clean forms that made broad gestures of directionality across my terrain and a form whose complexity is revealed only on the micro level. As a result, I settled on the five custom panels shown previously, using the boundary box and various extrusion commands.
I joined my shapes in rows so that it would be easier to organise once I have unrolled them in Rhino. I also divided them into individual layers with a gradient of rainbow colours from red to purple for fast recognition of placement. The “hooded” forms could only be joined to other forms from two sides, which meant that they had to be unrolled and therefore made individually.
I found helpful to envisage the lines that had to be folded backwards and making them dashed on Illustrator rather than having to figure them out when I am model-making. Also, with prototyping, I discovered that the forms are much cleaner when I glue the tab immediately to the other surface rather than to another tab. These tricks come with experience and have really facilitated my making process.


Colour coded custom paneling designs


Physical Fabrication
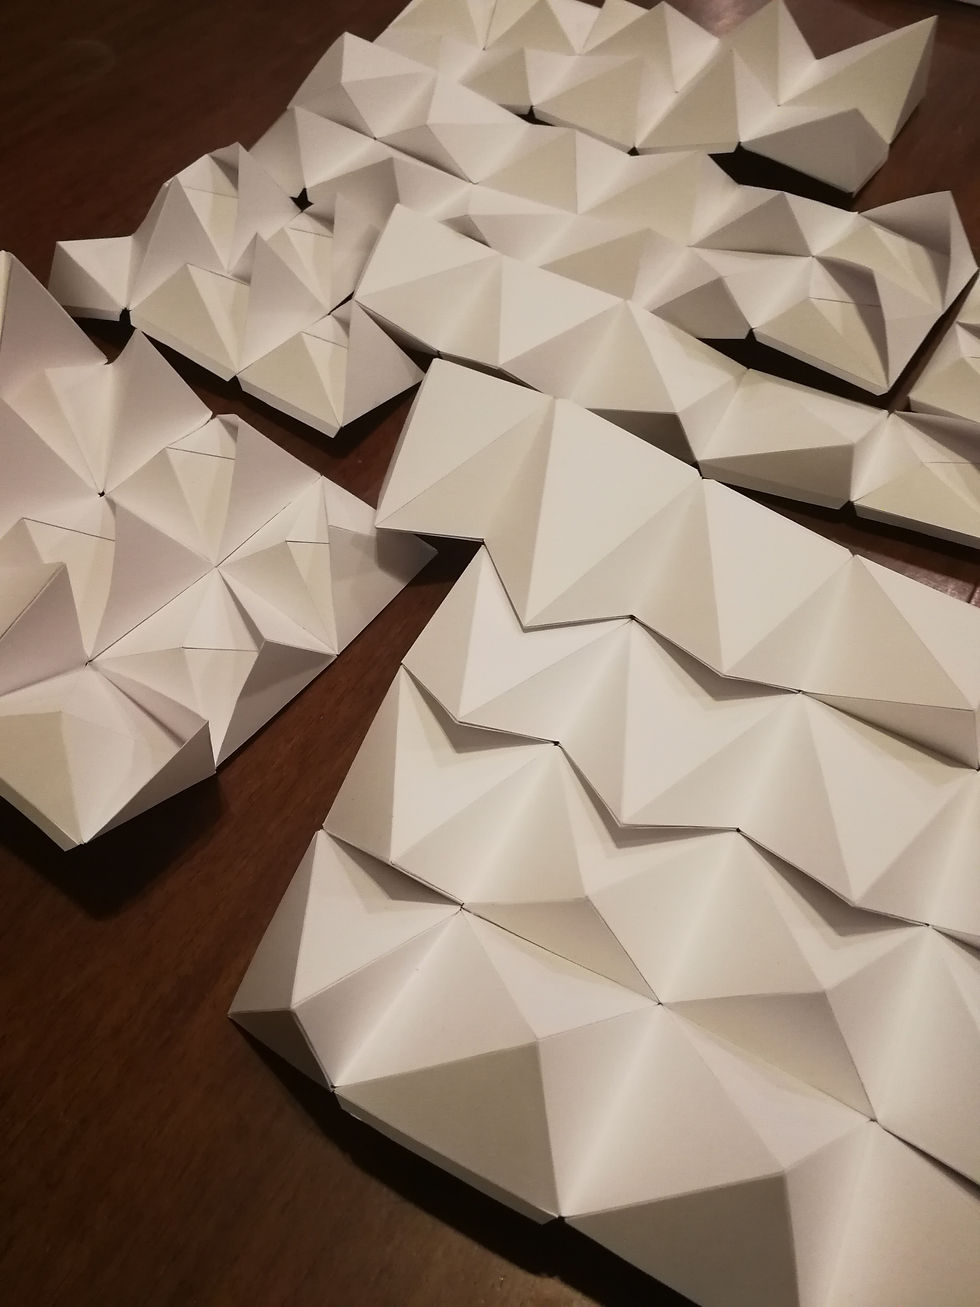
Finally, at the stage of assembling, I began by sticking the model pieces into groups. The hooded figures were surprisingly extremely helpful in helping me determine the position of the pieces as the hoods all faced the top left corner of the model. The larger bulldog clips were very helpful. I also made extra tabs for each of the hooded shapes so they can connect firmly with the other pieces. The final model was flawed with inevitable holes in the junction of pyramids. So I created smaller tabs to hold the larger tabs in place, which effectively minimised the gaps. With the advice of my tutor, I explored trimming the edges of my tabs so they would fit more snugly with each other.


Reflection
In this module, I was able to familiarise myself with the Rhino program and the panelling tools in generating and unrolling three-dimensional designs. I also gained a greater understanding of the physical model-making process. Model making was highly time-consuming, and as I had started early, I was still able to complete my model, even rework some pyramids, after making mistakes. The intricacy of cutting, scoring and glueing required much concentration and care. The final three-dimensional model has a powerful visual and physical impact as the viewer can walk around it and move closer to gain a sense of space and form. I found it interesting how the pattern created through the iteration of forms contributed to the overall textured surface, making the design intriguing at both micro and macro scales. The photography component was challenging in the way I had to choose only one perspective to photograph, but this also meant that I had full control of the way in which my model was viewed.
In retrospect, if I had more time, I would have made the individual custom shapes even more interesting such as having four pyramids in one square grid in order to add complexity and variation in density to my model.
Working through the entire process of model-making has made me realise not only the creative potential of paper as a fundamental model-making material but also the value of physical models in communicating ideas. After this module, I noticed myself recognising examples of the use of such pyramids in modern architecture to create fluid building surfaces, such as The Esplanade in Singapore. Indeed, the developable quality of pyramids makes it a simple yet flexible building block of larger forms.